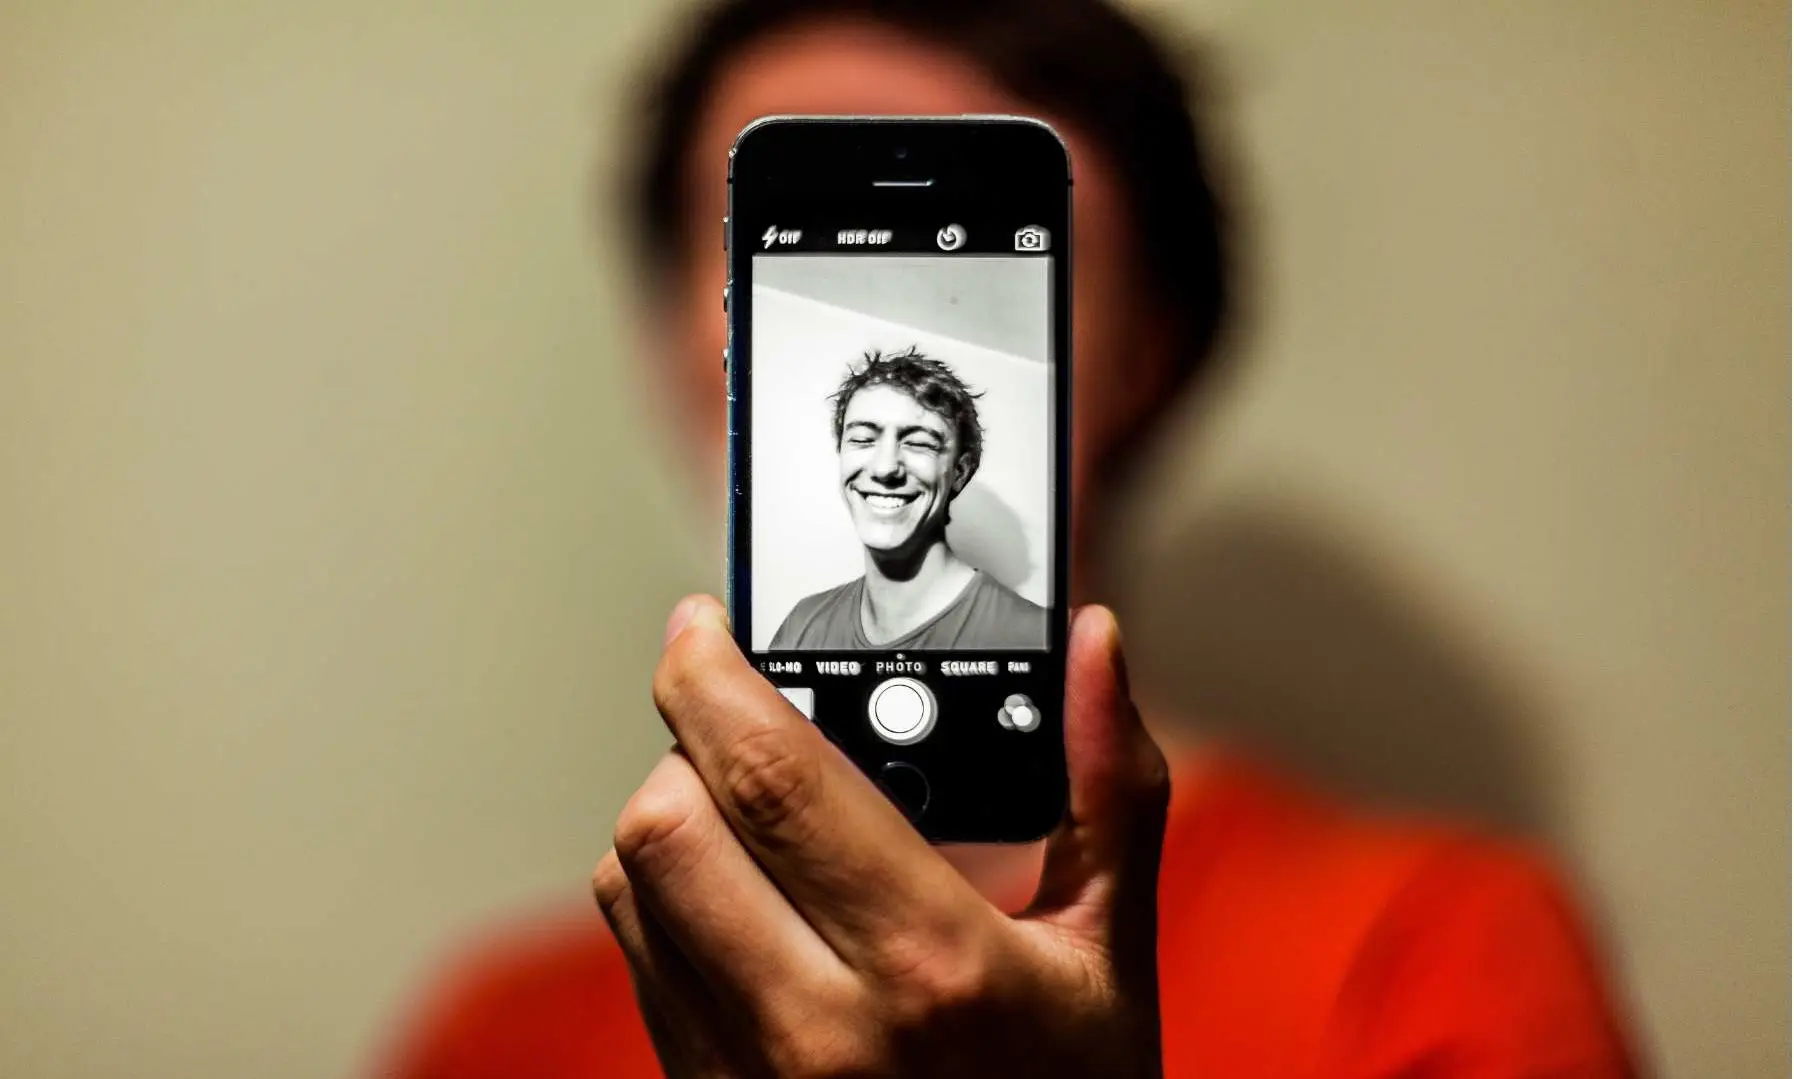
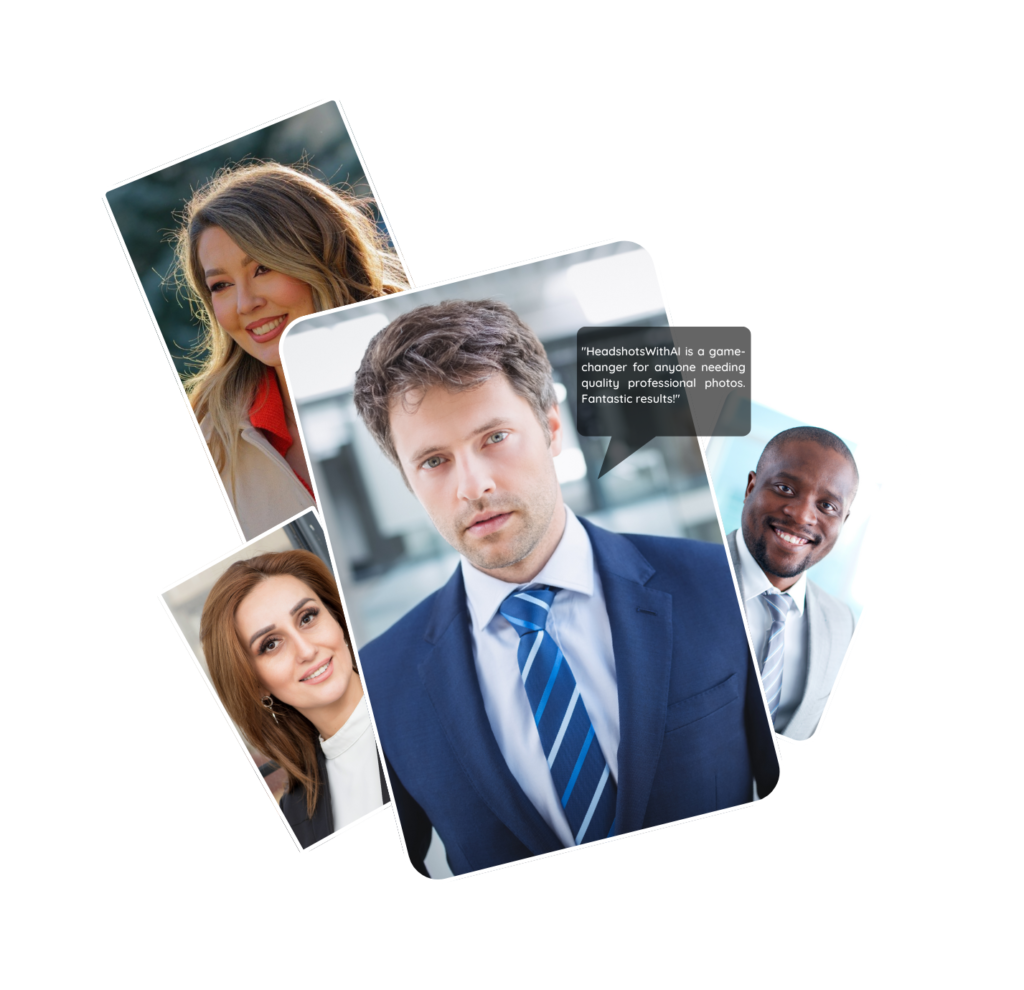
With smartphone cameras becoming more advanced, you can easily take a high-quality headshot without the need for professional equipment. Whether you’re updating your LinkedIn profile, website, or portfolio, you can capture a polished, professional-looking image using just your phone.
Here’s a detailed guide on how to take a headshot with your phone, along with tips to ensure you get a professional result. For those who want an even more polished look, we’ll also discuss how HeadshotsWithAI.com can refine your photo using AI technology.
Step 1: Use the Right Camera Settings
Most smartphones today have powerful cameras, but a few settings can help you get the best shot possible:
- Use the Rear Camera: The rear camera typically offers better resolution and image quality than the front-facing (selfie) camera.
- Portrait Mode: If your phone has a portrait mode, use it to create a blurred background effect, which helps emphasize your face and gives a professional touch.
- Grid Lines: Turn on the grid lines to help with composition. This will help you center your face and keep the photo balanced.
Step 2: Find the Best Lighting
Lighting is the most important factor in photography. Proper lighting can make your headshot look polished, while poor lighting can result in harsh shadows or a washed-out look.
- Natural Light is Best: Position yourself near a window with natural light coming in. The soft, even light will enhance your features without creating harsh shadows.
- Avoid Direct Sunlight: Harsh, direct sunlight can create strong shadows on your face. If you’re outside, try to take the photo in the shade or during the golden hour (shortly after sunrise or before sunset).
- Face the Light Source: Always have the light in front of you, not behind. If the light is behind you, it can cast shadows over your face and make the photo too dark.
Step 3: Choose the Right Background
A clean, uncluttered background will ensure that the focus stays on you, not on your surroundings.
- Plain Background: Use a solid, neutral-colored wall or backdrop. White, grey, or light-colored walls work best. Avoid busy or cluttered environments.
- Outdoor Backgrounds: If you’re outdoors, make sure the background is blurred (using portrait mode) or clean, like a park or a simple wall. This keeps the focus on you.
Step 4: Position the Camera Correctly
Positioning your camera at the right angle is essential for getting a flattering, professional-looking shot.
- Camera at Eye Level: Ensure the camera is at eye level to avoid unflattering angles. Shooting from above can distort your features, while shooting from below can make the image look awkward.
- Use a Tripod or Stable Surface: To keep your phone steady, use a tripod. If you don’t have one, prop your phone on a stack of books or any stable surface. This ensures the camera stays level and reduces any blurriness caused by shaking.
Step 5: Frame the Shot Properly
How you frame your headshot affects the overall professionalism of the image.
- Center Your Face: Make sure your face is centered in the frame. The shot should include your head and shoulders, leaving a bit of space above your head. Crop the photo if necessary to eliminate distractions.
- Keep a Clean Composition: Use the grid lines on your phone to ensure your face is centered and balanced in the frame. Avoid tilting the camera too much or placing your face too high or low in the shot.
Step 6: Choose the Right Outfit
Your outfit should reflect the professional tone of your headshot.
- Solid Colors Work Best: Choose solid, neutral colors like black, navy, or grey. Jewel tones such as deep blue, emerald green, and burgundy can also look professional. Avoid bright, neon colors or busy patterns.
- Dress for Your Industry: Consider the expectations of your industry. For corporate roles, opt for a suit or blazer. For more creative industries, smart casual attire is usually acceptable.
- Minimal Accessories: If you wear jewelry or accessories, keep them simple. You want the focus to be on your face, not your accessories.
Step 7: Practice Posing
Posing naturally can be challenging, but following these tips will help you look confident and approachable:
- Stand or Sit Up Straight: Good posture conveys confidence. Whether standing or sitting, keep your back straight and shoulders relaxed.
- Slightly Angle Your Body: Instead of facing the camera head-on, angle your body slightly to the side while keeping your face toward the camera. This creates a more dynamic, flattering look.
- Look Into the Camera: Direct eye contact with the camera lens creates a sense of connection and confidence.
- Smile Naturally: Avoid forced smiles. Relax and smile softly for a warm, approachable expression.
Step 8: Take Multiple Shots
Don’t settle for the first photo you take. Experiment with different angles, expressions, and lighting setups. Take multiple photos to increase your chances of capturing the perfect shot. You can always delete the ones that don’t work later.
Step 9: Lightly Edit Your Photo
After taking your headshots, you may need to make some light edits to enhance the photo’s quality.
- Adjust Brightness and Contrast: If the lighting isn’t perfect, you can use your phone’s editing tools to adjust brightness, contrast, and sharpness.
- Crop the Photo: Make sure the focus is on your face by cropping out any unnecessary background or distractions.
- Avoid Over-Editing: Don’t use heavy filters or overly smooth your skin. Keep the editing light and natural for a professional look.
Step 10: Use HeadshotsWithAI.com for a Polished Finish
For those who want to take their headshot to the next level, consider using HeadshotsWithAI.com. This platform uses AI technology to enhance your DIY headshot, delivering a professional-quality image in just minutes.
How HeadshotsWithAI.com Works:
- Upload Your Photo: Take a well-lit, clean headshot using your phone and upload it to the platform.
- AI Enhances Your Image: The AI will automatically adjust lighting, sharpness, and background to make your headshot look polished and professional.
- Download Your Headshot: In minutes, you’ll have a high-quality headshot ready for LinkedIn, resumes, or any other professional use.
Benefits of HeadshotsWithAI.com:
- Affordable: Get a professional-quality headshot without the cost of hiring a photographer.
- Fast: Receive your polished headshot within minutes, perfect for last-minute needs.
- Customizable: Choose different background styles or adjustments to match your personal brand.
Common Mistakes to Avoid When Taking a Headshot with Your Phone
To ensure your headshot looks professional, avoid these common mistakes:
- Poor Lighting: Dark or uneven lighting can make your headshot look unprofessional. Always aim for soft, natural lighting.
- Cluttered Backgrounds: A busy or cluttered background can distract from your face. Stick to a clean, simple background.
- Low Camera Angle: Shooting from below can result in unflattering angles. Always keep the camera at eye level.
- Over-Editing: Using too many filters or heavy editing can make your photo look artificial. Keep it natural for the best results.
FAQs About Taking a Headshot with Your Phone
- Can I take a professional headshot with my phone?
Yes, modern smartphones have excellent cameras that can take high-quality headshots with the right techniques. - What’s the best lighting for a phone headshot?
Natural light from a window is ideal. It creates soft, even lighting that enhances your features without harsh shadows. - What’s the best camera angle for a headshot?
Always position the camera at eye level to avoid unflattering angles. This ensures your face is centered and properly framed. - Can I use HeadshotsWithAI.com to improve my phone headshot?
Absolutely! HeadshotsWithAI.com uses AI technology to enhance your headshot, adjusting lighting, sharpness, and background for a polished, professional look. - What should I wear for a headshot?
Wear solid, neutral colors like black, grey, or jewel tones. Avoid bright colors or patterns, and keep accessories minimal to ensure the focus is on your face. - How do I make my phone headshot look professional?
Focus on good lighting, a clean background, and proper camera positioning. Use HeadshotsWithAI.com to polish your photo and make it look even more professional.
Othman Naimi is a tech enthusiast and imaging expert specializing in AI-driven headshot solutions. With a background in computer science and a passion for innovation, Othman leverages advanced technology to create impactful, professional portraits. His articles on Headshotswithai.com offer valuable insights and practical tips for enhancing your visual presence.


