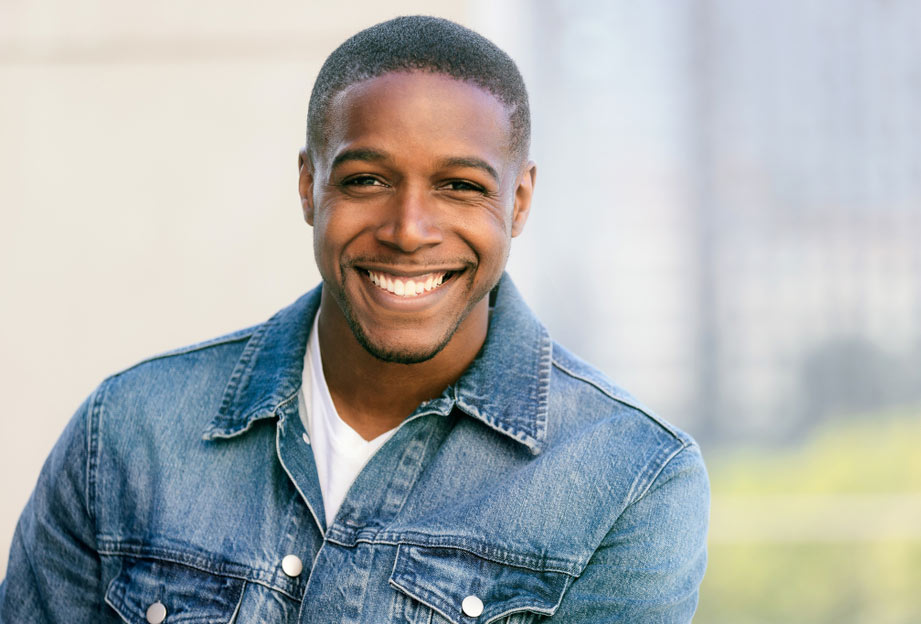
A professional headshot is essential for making a strong impression in today’s digital world. Whether it’s for LinkedIn, a company website, or your portfolio, a high-quality photo can set you apart from the competition. While many people opt for professional photographers, you can take a great headshot on your own with the right techniques.
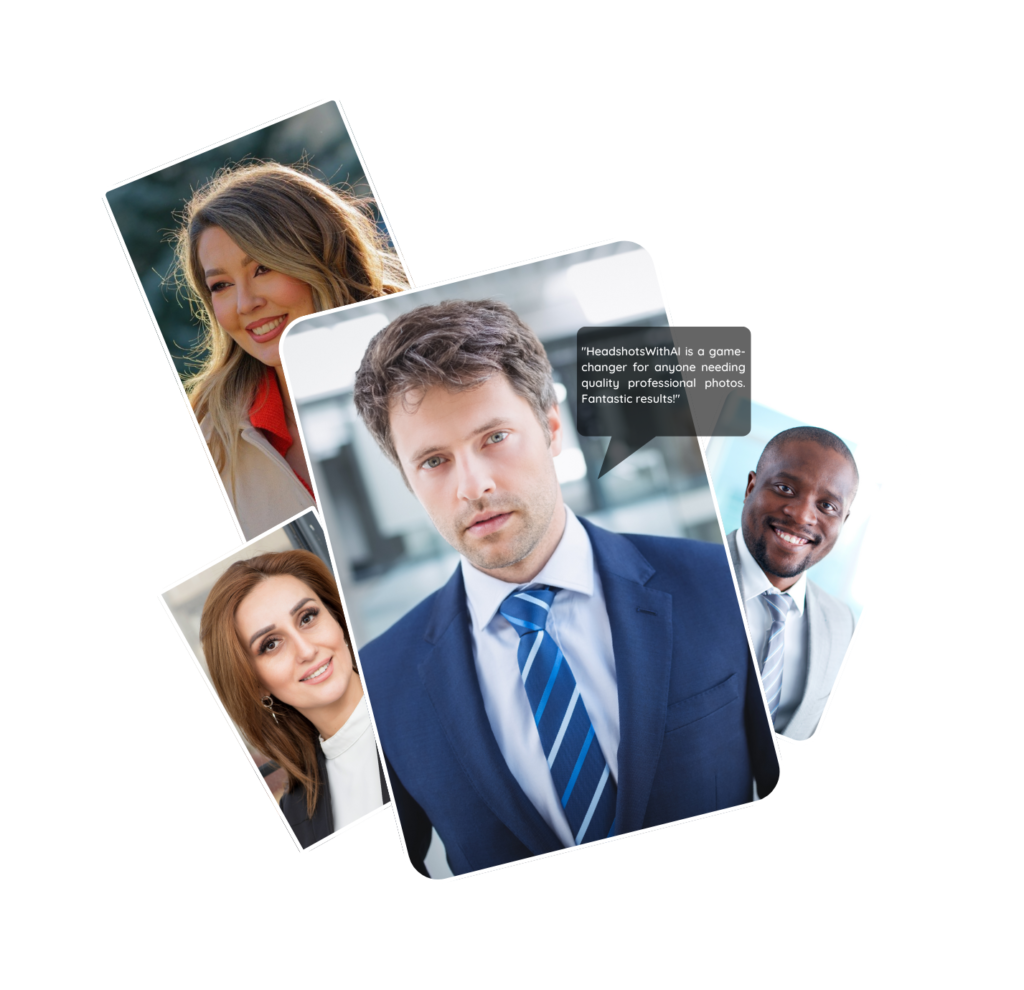
If you want an even more polished, professional look without the hassle of booking a photographer, HeadshotsWithAI.com provides an affordable and fast solution. By using advanced AI technology, this platform transforms a simple photo into a professional headshot, giving you a high-quality result in minutes.
Here’s how you can take a great headshot by yourself, step-by-step, and how HeadshotsWithAI.com can help you refine it.
Step 1: Set Up Your Equipment
You don’t need expensive gear to take a good headshot—just a few essential tools:
- Smartphone or Digital Camera: Most smartphones today have excellent cameras. Use the rear camera for better resolution and sharper images.
- Tripod or Stable Surface: A tripod ensures that your phone or camera is steady. If you don’t have one, use books, boxes, or anything stable to prop up your device.
- Natural Light or Soft Lighting: Good lighting is crucial for any headshot. Natural light from a window is ideal. Avoid harsh lighting or shadows.
Step 2: Find the Right Background
Your background should be simple and clean, ensuring all attention stays on you:
- Neutral or Plain Background: A plain wall or an uncluttered background is ideal. If you’re outside, a softly blurred background works well. Avoid messy or distracting environments.
- Lighting Position: Stand facing a window for natural light that illuminates your face evenly. Avoid direct sunlight, as it can create harsh shadows.
Step 3: Position Your Camera Correctly
Camera positioning plays a key role in capturing a flattering photo:
- Eye-Level Camera Placement: Ensure your camera is at eye level to avoid unflattering angles. Use a tripod or stack books to get the perfect height.
- Frame Your Face and Shoulders: Position yourself so that your head and shoulders fill most of the frame, leaving a bit of space above your head.
Step 4: Choose the Right Outfit
Your outfit plays a big part in how you come across in your headshot. Here’s what to consider:
- Solid Colors: Stick to solid, neutral colors like black, navy, white, or grey for a professional look. If you want a pop of color, choose jewel tones like deep blue or emerald green.
- Avoid Patterns: Patterns can be distracting. Stick to simple, solid fabrics.
- Minimal Accessories: Keep jewelry and accessories minimal to ensure the focus is on your face.
Step 5: Perfect Your Pose
Posing naturally can be challenging, but here are some tips to make it easier:
- Stand or Sit Up Straight: Good posture shows confidence. Keep your shoulders back and relaxed.
- Angle Slightly: Instead of facing the camera head-on, turn your body slightly while keeping your head toward the camera. This adds dimension to your photo.
- Relax and Smile: A natural smile helps you look approachable and confident. Avoid forced or stiff expressions.
Step 6: Take Multiple Shots
Take several photos to give yourself plenty of options. Try different angles, expressions, and lighting adjustments to find the best look. Use a timer or remote to snap the photo so you can adjust your pose without rushing.
Step 7: Edit Lightly
Once you have the best shot, edit it lightly to enhance the overall quality:
- Adjust Brightness and Contrast: Ensure your photo is well-lit and balanced. Most smartphones have built-in editing tools for this.
- Crop if Needed: Make sure your head and shoulders are the main focus of the shot by cropping the photo to remove any distractions.
- Avoid Heavy Filters: Keep it natural. Over-editing can make the photo look artificial, which is not ideal for a professional headshot.
Step 8: Use HeadshotsWithAI.com for a Professional Finish
For a polished, professional look, consider using HeadshotsWithAI.com. This platform uses advanced AI technology to enhance your DIY headshot, giving it the look of a professionally taken photo without the high cost or inconvenience of booking a photographer.
How It Works:
- Upload Your Photo: Simply upload a clear, well-lit image of yourself.
- AI Enhances Your Photo: The AI technology automatically improves the lighting, sharpness, and background, giving your photo a polished finish.
- Download Your Headshot: In just minutes, you’ll receive a professional-quality headshot that’s perfect for LinkedIn, your website, or any other professional platform.
Benefits of HeadshotsWithAI.com:
- Affordable: Get a high-quality headshot for a fraction of the cost of hiring a professional photographer.
- Fast and Convenient: No need to schedule a photoshoot. Get your enhanced headshot in minutes from the comfort of your home.
- Customizable Options: Choose from different background styles to suit your personal brand or industry.
Common Mistakes to Avoid When Taking a Headshot by Yourself
To ensure your headshot looks professional, avoid these common mistakes:
- Poor Lighting: Dark or uneven lighting can make your headshot look unprofessional. Always aim for natural or soft, even lighting.
- Cluttered Backgrounds: A busy or messy background distracts from your face. Stick to clean, simple settings.
- Low Camera Angle: Shooting from below can be unflattering. Always keep the camera at eye level for the best results.
- Over-Editing: Heavy filters or extreme editing can make your headshot look unnatural. Keep it minimal and professional.
FAQs About Taking a Good Headshot by Yourself
- Can I take a professional headshot with my phone?
Yes! Modern smartphones have excellent cameras, making them perfect for taking high-quality headshots. - What’s the best lighting for a headshot?
Natural light from a window is ideal. It’s soft and even, which helps avoid harsh shadows and unflattering lighting. - How can I make my DIY headshot look more professional?
Focus on good lighting, a clean background, and solid camera positioning. Use HeadshotsWithAI.com to polish and enhance the final image for a more professional look. - Should I use a timer or remote for my headshot?
Yes, using a timer or remote allows you to pose naturally without rushing to press the shutter. - How do I edit a headshot to look professional?
Keep edits light—adjust brightness, crop the image to focus on your face, and avoid over-editing or using heavy filters. - How can HeadshotsWithAI.com improve my DIY headshot?
HeadshotsWithAI.com uses AI technology to enhance your photo, improving lighting, sharpness, and the background for a professional-quality finish.
Othman Naimi is a tech enthusiast and imaging expert specializing in AI-driven headshot solutions. With a background in computer science and a passion for innovation, Othman leverages advanced technology to create impactful, professional portraits. His articles on Headshotswithai.com offer valuable insights and practical tips for enhancing your visual presence.


